1. 云端GPU算力平台
若本地部署–>需安装nvidia显卡驱动(略过)–安装nvidia显卡库CUDA12.4
点此链接查看安装教程(不同驱动对应不同CUDA版本)
我的显卡驱动版本为550.78,对应可最高使用CUDA12.4,对应使用torch2.4以上,python3.10
记住这个组合,后面要用(cuda12.4+python3.10+torch2.5.1+torchvision0.20.1+torchaudio2.5.1)
1.1 购买套餐
本文使用彗星云云服务器为例。官网购买后确保已经自带了cuda库。购买后即可通过ssh或者vnc远程连接。ssh vipuser@js2.blockelite.cn -p 17536
彗星云GPU服务器
套餐:GeForce RTX4090(24G显存) ¥1.39/h
系统镜像:ubuntu22.04_cuda12.4+miniconda
1.2 安装python3.10
1
2
3
4
5
6
| sudo apt update
sudo apt install -y software-properties-common
sudo add-apt-repository ppa:deadsnakes/ppa
sudo apt update
sudo apt install -y python3.10
python3.10 --version
|
1.3 科学上网(没有特殊需求可以不做)
(使用scp将自己的clash传到云服务器,这是我自己的操作)
1
2
| scp /home/photinia/Downloads/clash_sub.txt vipuser@js1.blockelite.cn:/home/vipuser
scp /home/photinia/Downloads/Clash\ for\ Windows-0.20.7-x64-linux.tar.xz vipuser@js1.blockelite.cn:/home/vipuser
|
2. openvla部署
2.1 虚拟环境
1
2
3
4
5
|
conda create -n openvla python=3.10 -y
conda activate openvla
pip config set global.index-url https://mirrors.aliyun.com/pypi/simple/
|
note:如果系统未找到conda?
case1:你没有需要安装(需要网上找教程安装)
case2:存在目录~/miniconda3,但是没有添加环境变量在~/.bashrc里(需要在~/.bashrc里添加)
1
2
3
4
5
6
7
8
9
10
11
12
13
14
15
|
__conda_setup="$('/home/vipuser/miniconda3/bin/conda' 'shell.bash' 'hook' 2> /dev/null)"
if [ $? -eq 0 ]; then
eval "$__conda_setup"
else
if [ -f "/home/vipuser/miniconda3/etc/profile.d/conda.sh" ]; then
. "/home/vipuser/miniconda3/etc/profile.d/conda.sh"
else
export PATH="/home/vipuser/miniconda3/bin:$PATH"
fi
fi
unset __conda_setup
|
2.2 部署openvla
- clone 仓库
1
2
|
git clone https://github.com/openvla/openvla.git
|
- ./openvla/pyproject.toml中修改依赖的torch版本
1
2
3
4
5
6
7
8
9
10
11
12
13
14
15
16
17
18
19
20
21
22
23
24
25
26
27
| ...
dependencies = [
"accelerate>=0.25.0",
"draccus==0.8.0",
"einops",
# "flash_attn==2.5.5", # Here for documentation -- install *AFTER* editable install (follow README)
"huggingface_hub",
"json-numpy",
"jsonlines",
"matplotlib",
"peft==0.11.1",
"protobuf",
"rich",
"sentencepiece==0.1.99",
"timm==0.9.10",
"tokenizers==0.19.1",
"torch==2.5.1", #修改1
"torchvision==0.20.1",#修改2
"torchaudio==2.5.1",#修改3
"transformers==4.40.1",
"wandb",
"tensorflow==2.15.0",
"tensorflow_datasets==4.9.3",
"tensorflow_graphics==2021.12.3",
"dlimp @ git+https://github.com/moojink/dlimp_openvla"
]
...
|
- 安装依赖
1
2
3
4
5
6
7
8
9
10
11
| cd openvla
pip install -e .
pip install packaging ninja
ninja --version; echo $?
pip install "flash-attn==2.7.3" --no-build-isolation
|
2.3 配置仿真环境
1
2
3
4
5
| pip install -r experiments/robot/libero/libero_requirements.txt
git clone https://github.com/Lifelong-Robot-Learning/LIBERO.git
cd LIBERO
pip install -e .
cd ..
|
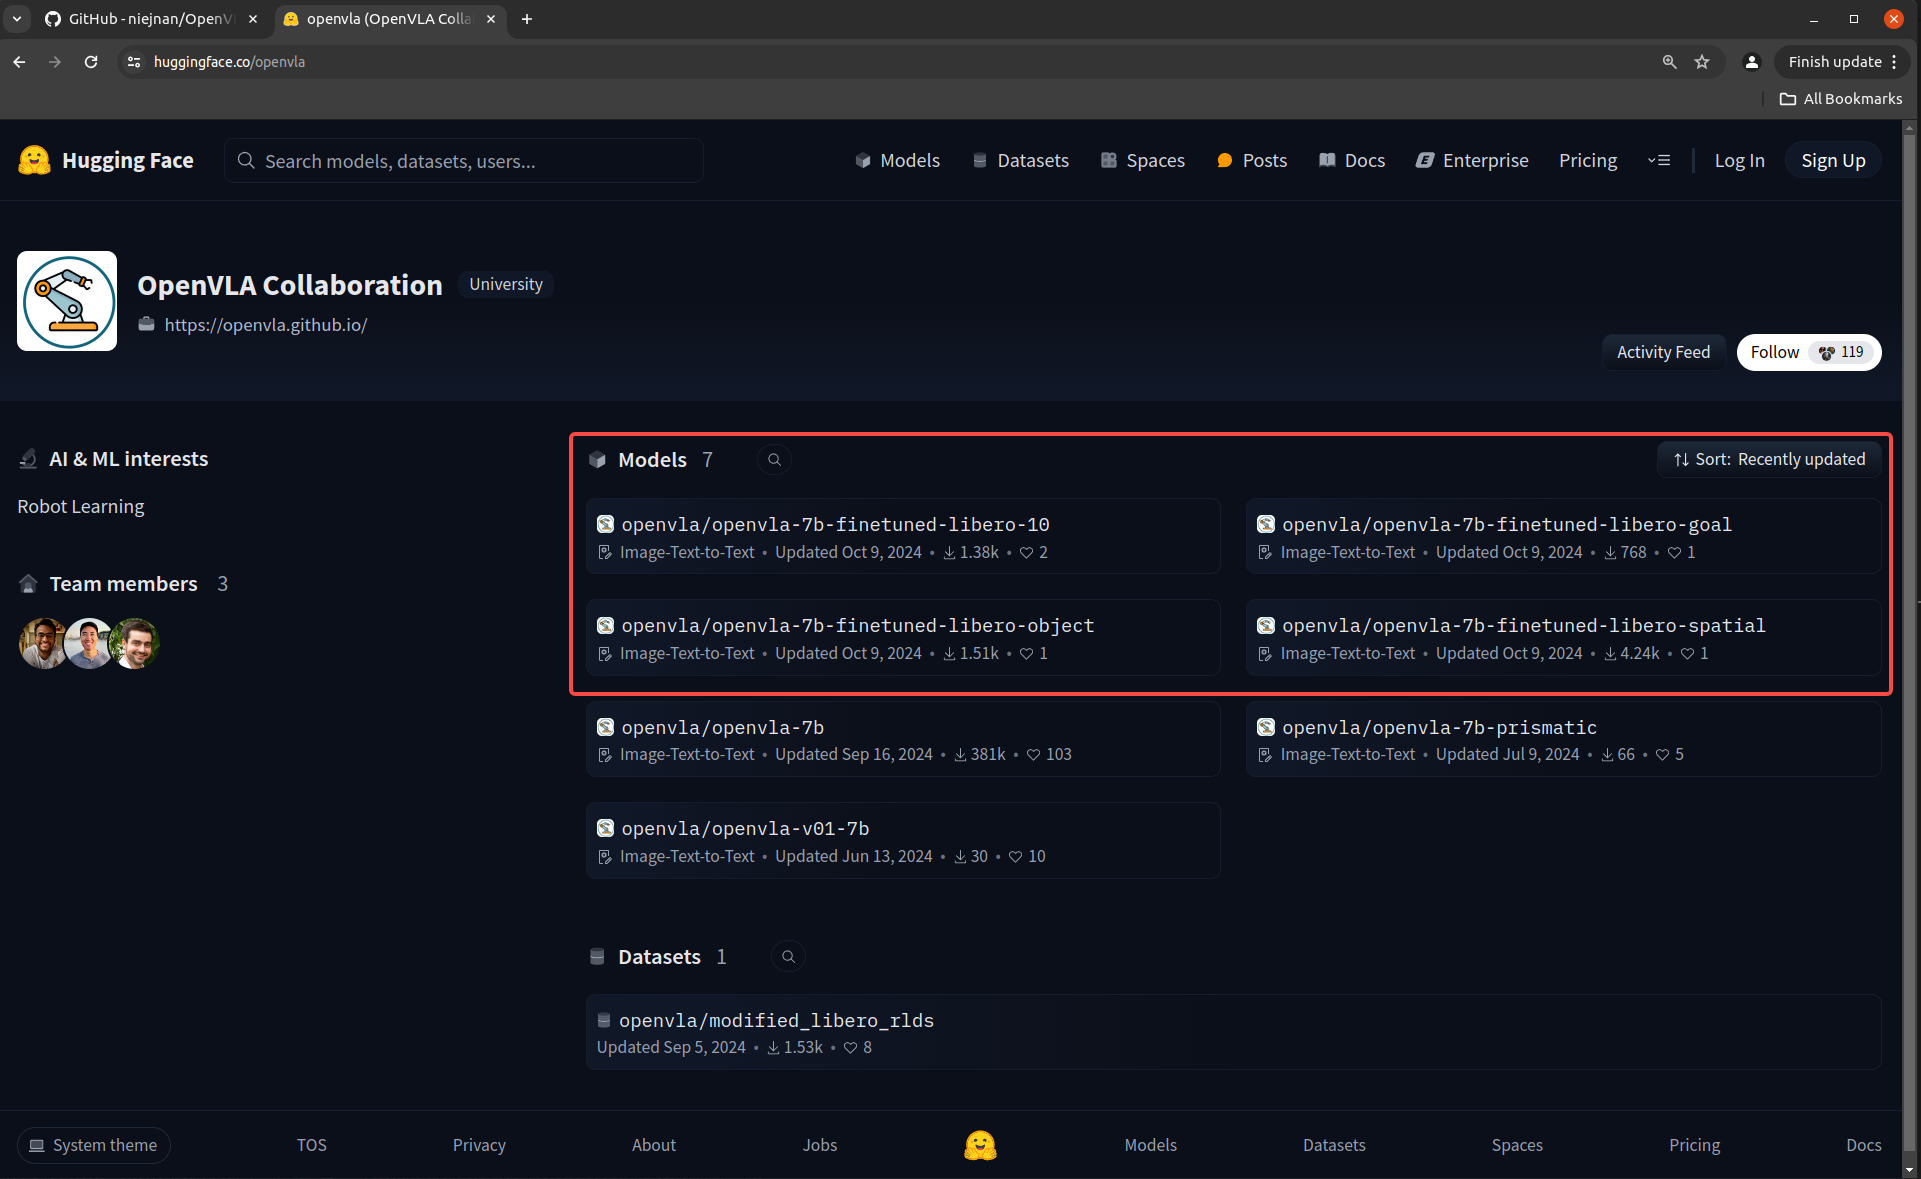
2.4 去openvla仓库下载预训练模型
huggingface官网(下载过程慢,建议科学上网)
huggindface国内镜像(镜像网站的下载速度只有7M不到)
注意:由于本文只仿真,所以需要下载的是libero的数据集模型版本,例如 libero_spatial

3. openvla仿真–预训练模型
3.1 部署网上的openvla复现版本
- clone
1
| git clone https://github.com/niejnan/OpenVLA.git
|
安装可能发生缺少的包
1
2
| pip install accelerate==0.25.0
pip install bitsandbytes
|
- 修改配置文件
在./OpenVLA/config.py文件中替换自己的模型路径
训练&运行参考该仓库readme.md
1
2
3
4
5
6
| class Config:
model_family: str = "openvla"
pretrained_checkpoint: str = "/home/vipuser/openvla/openvla-7b-finetuned-libero-spatial"
...
|
- 修改OpenVLA/eval.py
1
2
3
4
|
config.task_suite_name: str = "libero_spatial"
config.unnorm_key = config.task_suite_name
|
- 运行仿真(使用刚刚下载的预训练模型)
- 可能出现错误:
- 错误1
解决:降低accelerate版本,pip install accelerate==0.25.0 `.
https://blog.csdn.net/2402_89926293/article/details/145517199
- 仿真结果
成功率16/20 = 80%。左侧成功,右侧失败。
- 仿真结果疑惑
- 在失败的案例中,大多都是抓空。为什么抓空他不会继续抓,而是空着去目标点??是所谓的泛华能力弱?
- 有一次失败机械臂几乎没有动